As discussed in the Basic Guide, networking between instances in the Rapid Access Cloud is straight-forward, as each instance is assigned a private IPv4 address that can be used to communicate with each other. For networking instances with the public internet each instance is assigned a public IPv6 address, however if IPv6 can’t be used for any reason it is possible to allocate a single IPv4 address to your project.
Table of Contents
Self-Service Networks - OpenStack Neutron
...
To create a network, click on the Network panel in the Rapid Access Cloud dashboard:
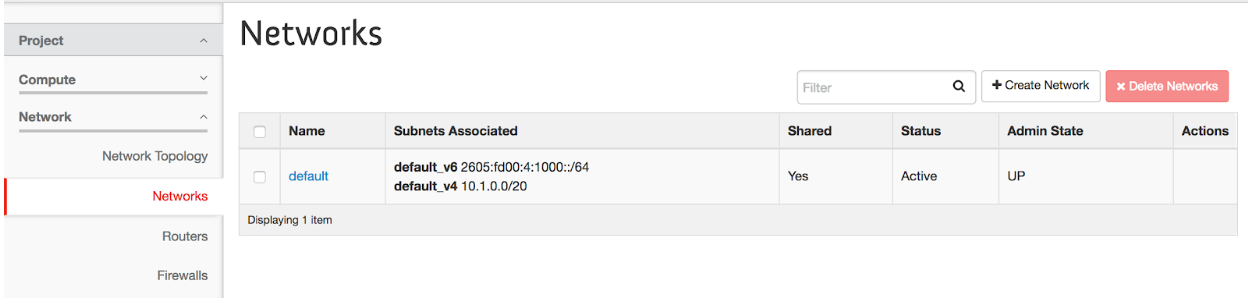

Next, click on Create Network and follow the wizard.
...
| Code Block |
|---|
$ openstack network create mynetwork $ openstack subnet create mysubnet --network mynetwork --subnet-range 192.168.100.0/24 $ openstack network delete mynetwork |
...
| Note |
|---|
Once you create your own network, you will always have to specify a network when launching an instance. Instances will no longer launch on the "default" network by default. |
Once your networks have been created, you can now launch instances on those networks. Choose which networks your instance will be attached to by going to the Networks tab in the Launch Wizard and select both the default and mynetwork options.


| Note |
|---|
...
Once you have created one or more networks, you |
...
will always |
...
have to specify which networks to launch your instances on. If you have not created any self-service networks, your instance will launch on the "default" network by default. When creating instances with more than one network, it is recommended to always have "default" listed at the top. |
...
| Note |
|---|
You cannot attach networks to instances that have already been created. |
Self-Service Routers
In addition to creating self-service networks, you can also create your own routers to connect these networks. To create a router, click on the Network panel in the Rapid Access Cloud dashboard and click on Routers.
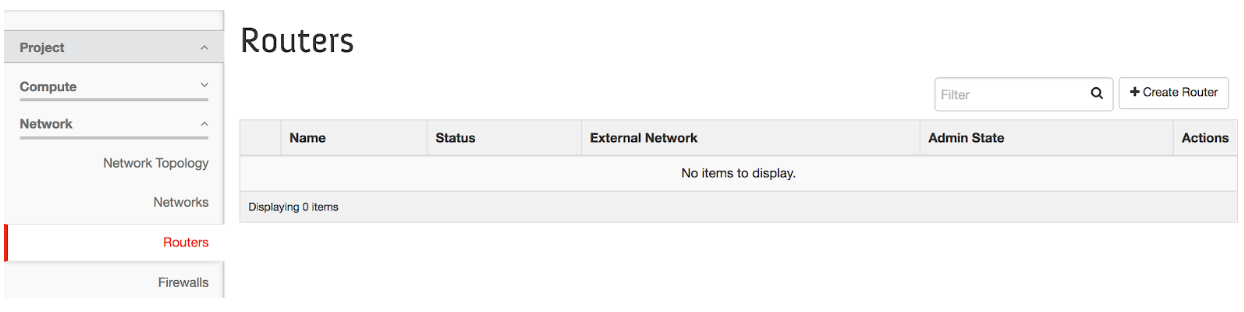

Next, click on Create Router and follow the wizard.
...
Once the above steps are done, you can return to the dashboard and see the networks, subnets, and router in the Network Topology:


...
| Note |
|---|
At this time it is not possible to attach a router to the "default" network. Unfortunately there is not an easy way of bridging self-service networks to the public Internet. This is currently in development and we will send a notification when this feature is available. |
Egress Rules and Security Groups
If you create a security group, by default it will be empty and not permit any traffic in or out. The default security group contains several rules to allow your instance to connect to the outside world that we strongly recommend adding to any security group you create if you do not plan on also including the default security group. Certain services (such as the metadata service for ssh key injection, and obtaining your IPv6 address require outbound access in order to function correctly).
Using the Command Line Tools, you can add these rules as follows:
| Code Block |
|---|
openstack security group rule create --egress --protocol any --ethertype IPv6 <security group name>
openstack security group rule create --egress --protocol any --ethertype IPv4 <security group name>

# Optionally - allow all within each instance in the group
openstack security group rule create --ingress --protocol any --ethertype IPv6 --remote-group <security group name> <security group name>
openstack security group rule create --ingress --protocol any --ethertype IPv4 --remote-group <security group name> <security group name> |