...
- Log onto Rapid Access Cloud dashboard via https://cloud.cybera.ca
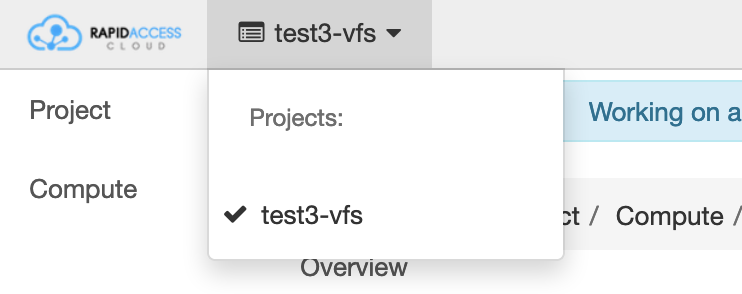
- In the very top left corner of the page, next to the Rapid Access Cloud logo, ensure the proper project is selected
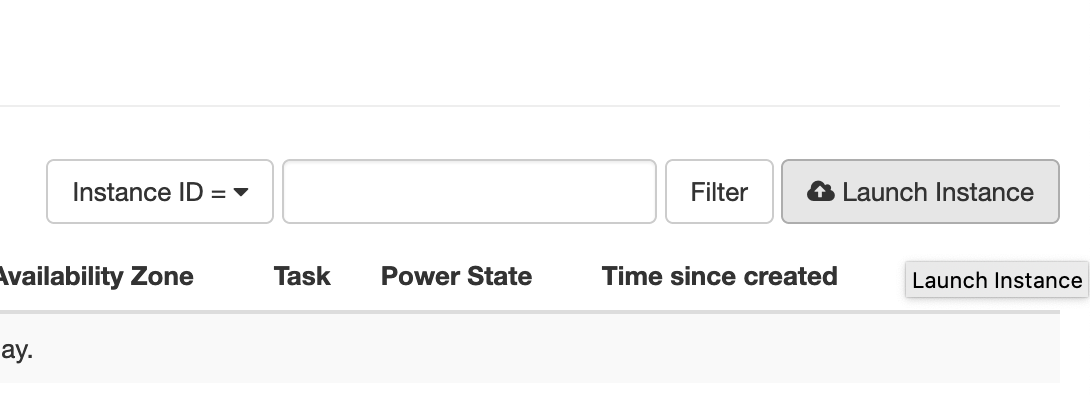
- On the side, click on “Compute”, and then “Instances” under it.
- Click on the “Launch Instance” button to start making a VFS instance. You will see the following menu
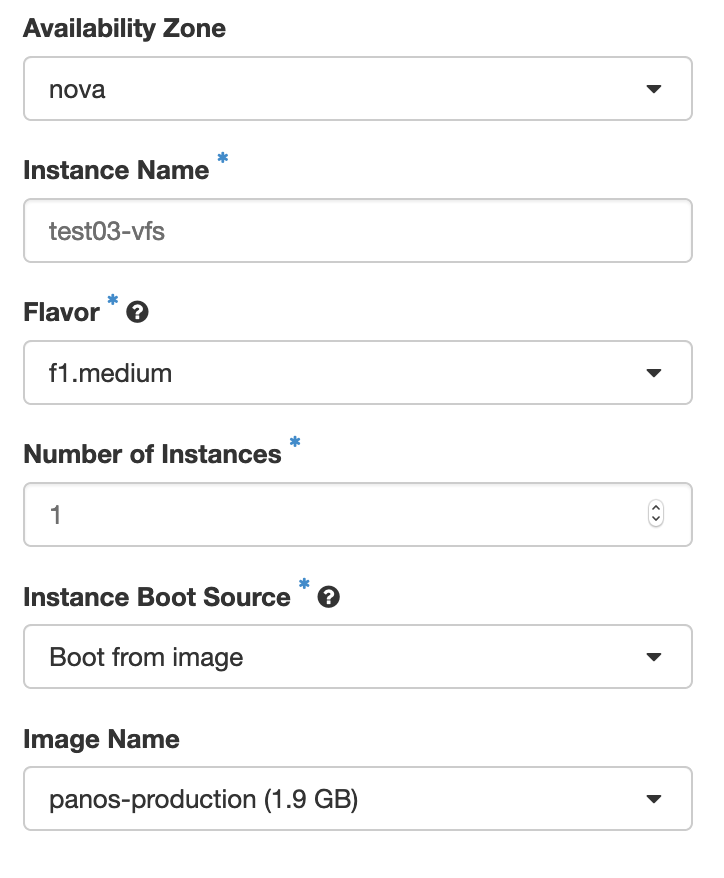
Give the instance a name, and choose the appropriate flavor. Depending on the virtual firewall of your choice, the corresponding flavor should be chosen for the instance. See the table below to identify the right flavor for your virtual firewall:
Palo Alto Firewall Flavor Fortigate Firewall Flavor VM-100 f1.small VM-02 f2.small VM-300 f1.medium VM-04 f2.medium VM-500 f1.large VM-08 f2.large 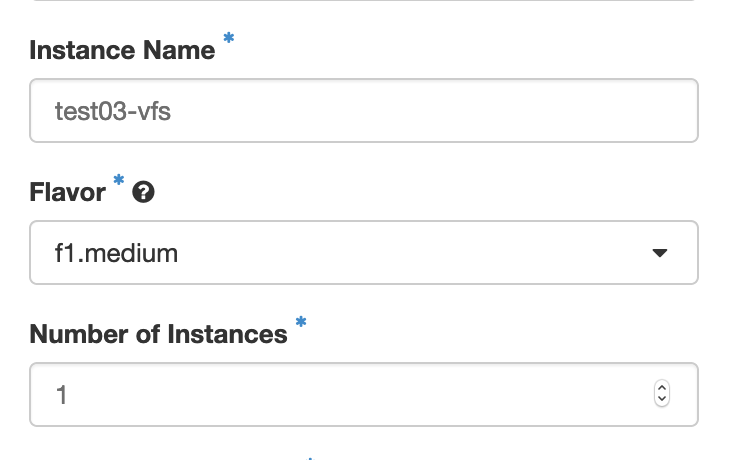
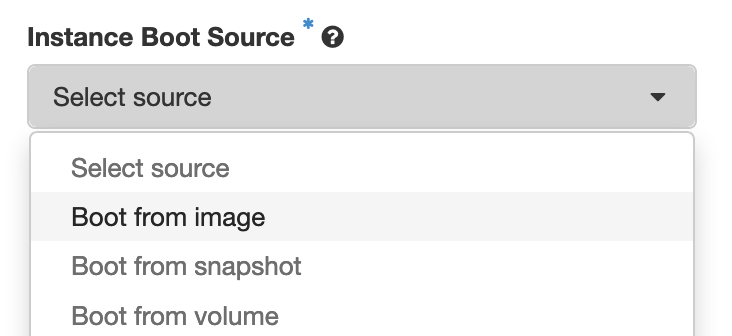
In the example above, the name test03-vfs has been given to the instance, and the flavor (f1.medium) indicates it is a Palo Alto instance.- Click on ‘Select source’ and select “Boot from image”.
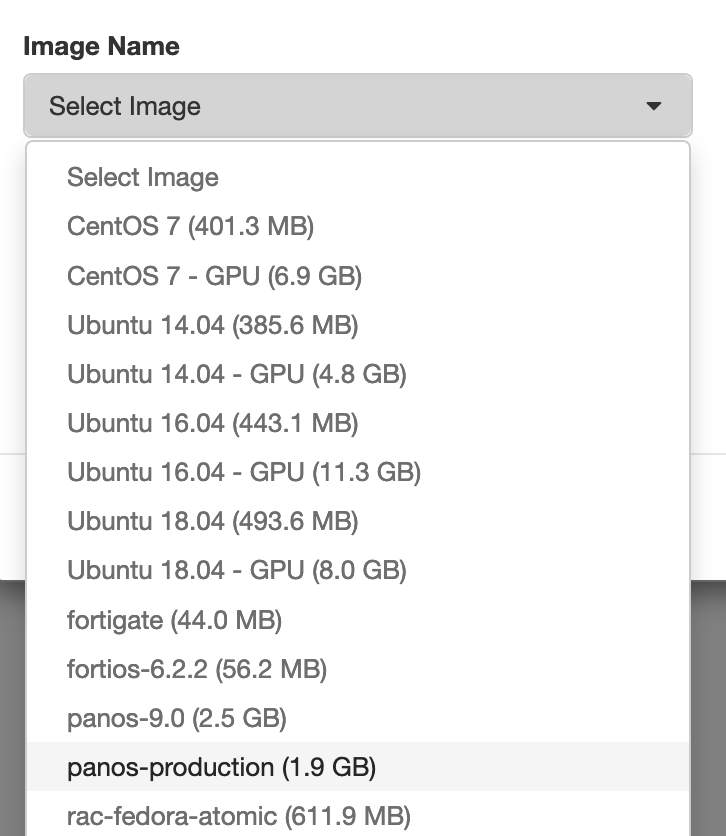
- Then select the appropriate image (panos-production in the example below):
- Check your options after you’ve picked what you wanted:
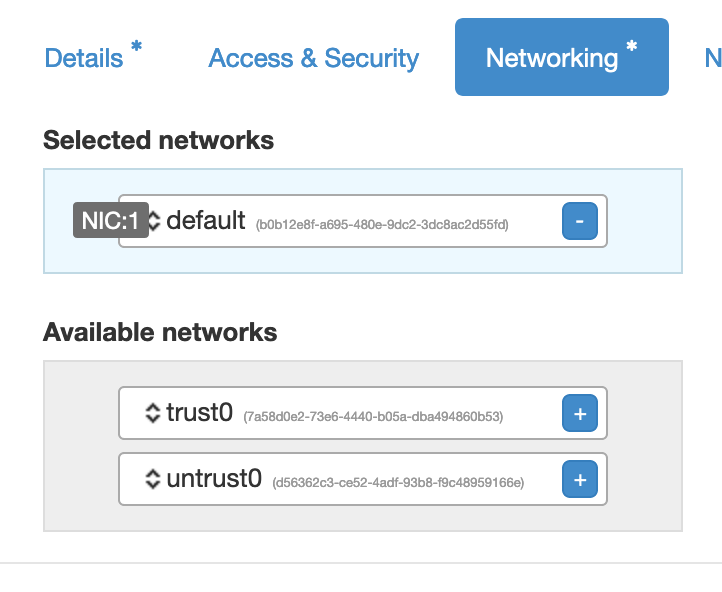
- Under “Networking*” tab, select only "default":
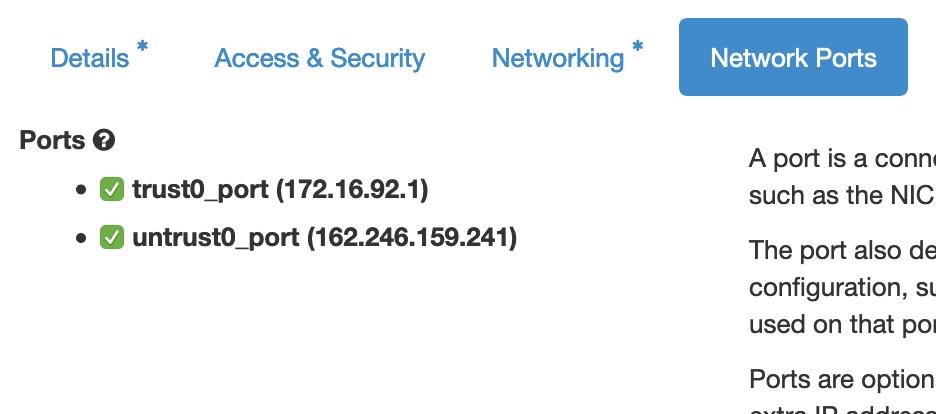
- Under “Network Ports” tab, check both trust0_port and untrust0_port:
- Then click on "Launch" in the bottom right of the window, and wait. This process could take a few minutes, then after completion, the following menu should appear:

- At this point your VFS instance is ready. You can then use a VPN to connect to it and then either SSH using the default management IP, or open a web browser and add “https://<default IP> and then hit enter. See the Access and Maintenance of Your Virtual Firewall section.
- (Optional) If a configuration needs to be uploaded from a backup, make sure the ports on the newly launched firewall and in the backup configuration match, otherwise the backup configuration should be edited based on new port assignments on the new firewall
Take note of the trust0 and untrust0 MAC addresses from the cloud side, using RAC portal (horizon) as shown in the example below

- Find out which ports on the new firewall have the MAC addresses discovered in (a)
- panos
- Web GUI
First, change the interface type for Ethernet1/1 and Ethernet1/2 to Layer3, and commit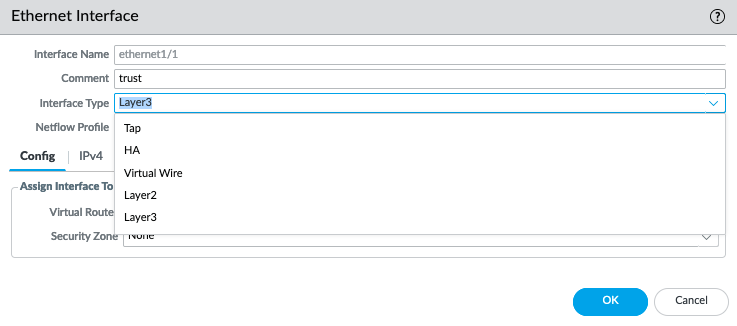
- Web GUI
Make sure the 'MAC Address' column is selected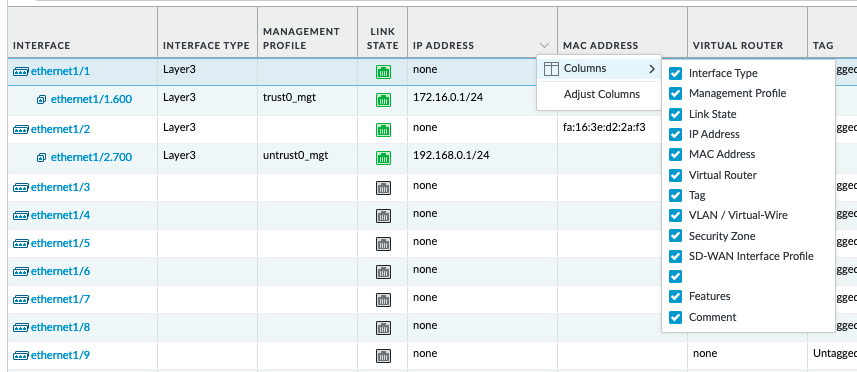
Then, you can see the MAC addresses as follows. Note, no need of configuring IP addresses to display the MAC.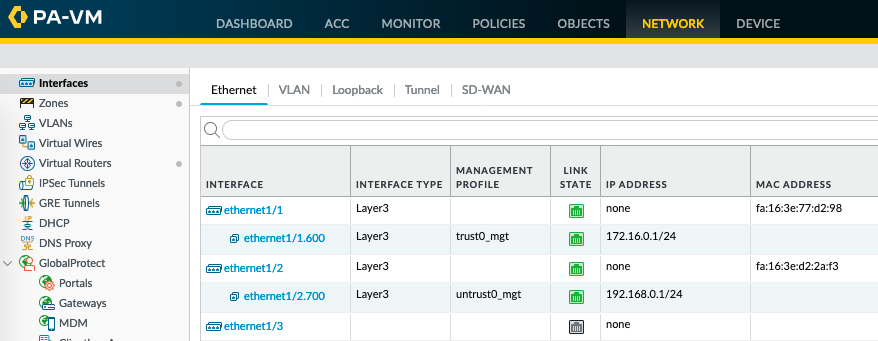
Command line (using horizon instance console or ssh to instance)
Code Block admin@PA-VM> show interface all total configured hardware interfaces: 2 name id speed/duplex/state mac address -------------------------------------------------------------------------------- ethernet1/1 16 10000/full/up fa:16:3e:77:d2:98 ethernet1/2 17 10000/full/up fa:16:3e:d2:2a:f3
- Web GUI
- fortios
- Web GUI
Go to the edit mode of each interface to check the MAC, as shown on the bottom right side below. This doesn't need any configuration changes in advance.
- Command line (using horizon instance console or ssh to instance)

- Web GUI
- panos
- Cross check if the panos/fortios ports match with those in the backup configuration
- if the ports are similar, no further action is required, the backup configuration can be uploaded to the new firewall
- if ports are different, edit the backup configuration according to the new port assignment; then the configuration can be uploaded to the new firewall
...