...
- In the Rapid Access Cloud dashboard, click on the Compute menu and then choose Volumes.
- Click on Create Volume and fill out the window as follows:

Note the Volume Source and the Use image as a source sections. Make sure to choose virtio-drivers. - Click Create Volume.
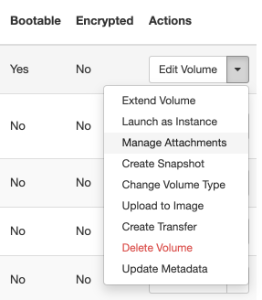
- Once the volume has been created, attach the volume to your Windows virtual machine. Do this by clicking the dropdown arrow next to Edit Volume and then choose Manage Attachments.
- Choose your Windows virtual machine from the drop down box:
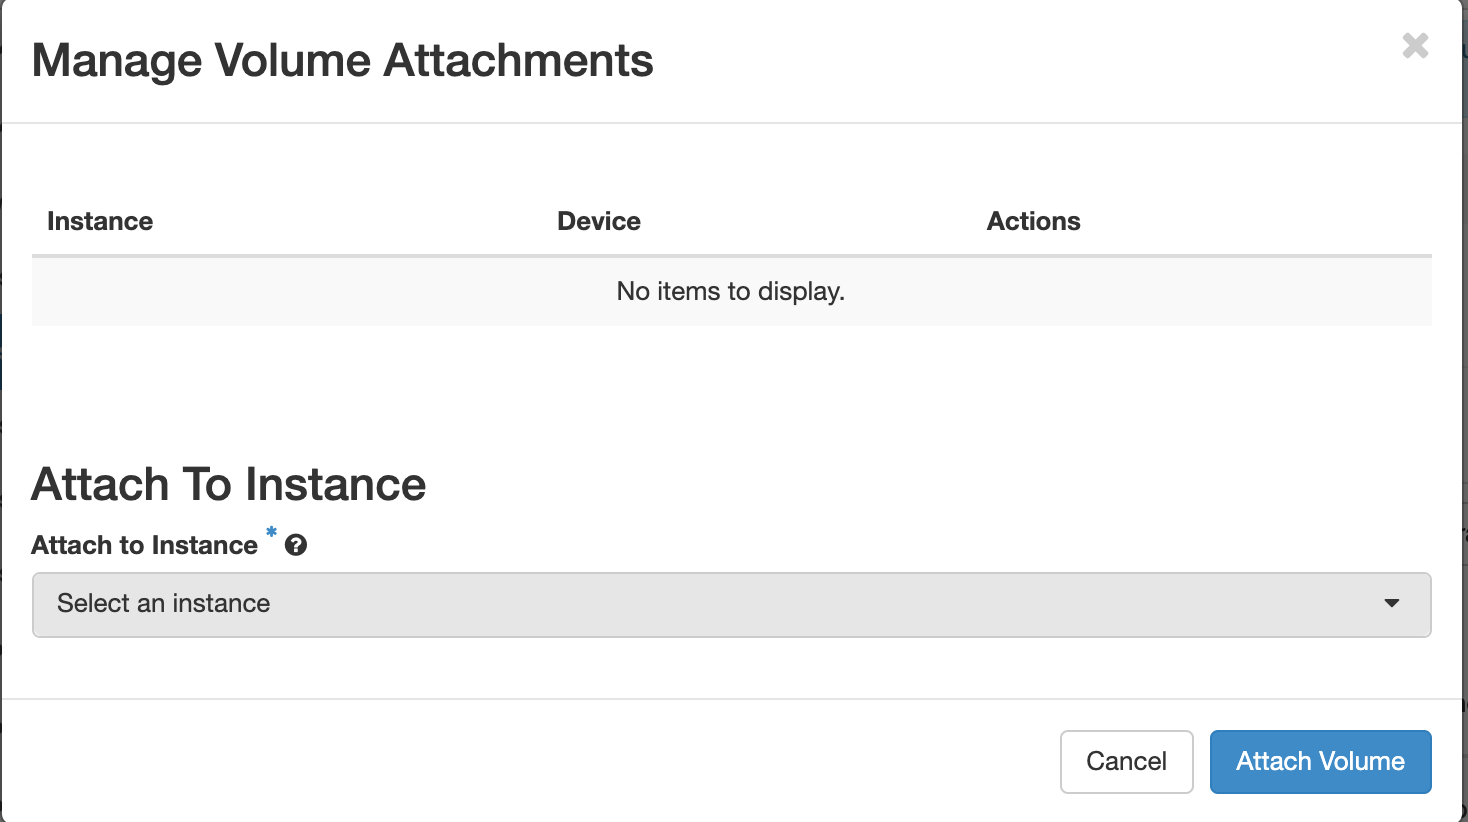
Then click Attach Volume. - Once the volume has attached, go to the remote Console of your virtual machine. Do this by clicking on the Instances menu on the left side, then click on your virtual machine, and finally click on the Console tab.
- Press the Send CtrlAltDel button and log in as an Administrator.
- Click on the Windows button on the bottom-left.
- Click on the "Down" arrow to view all Windows applications
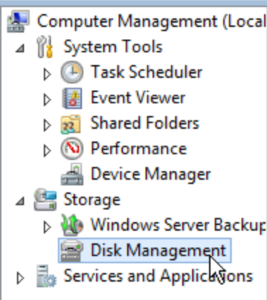
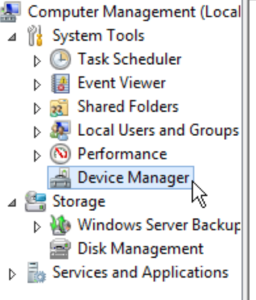
- Click on Computer Management

- Click on Disk Management
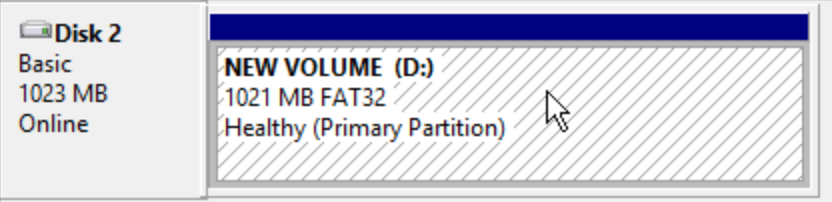
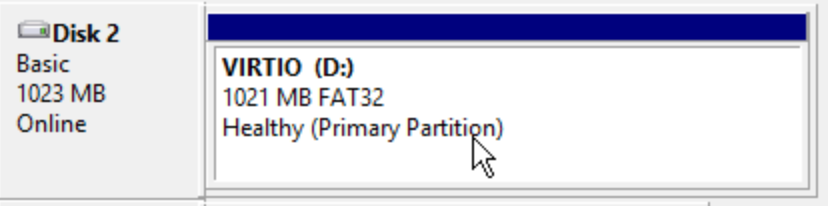
- Your volume will be the last disk listed. Right click on it and choose Online.
If it is not appearing try refreshing the list, or going to Device Manager, right click on the name of your instance, and choose "Scan for hardware changes"
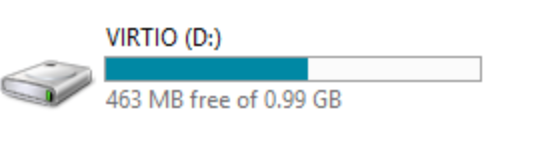
- The volume will now be brought online with a drive letter. Make note of the letter.
- Open a Windows Explorer window and double-click on the new Drive.
 Inside, you'll see a single file. Double-click on it to create a virtual CDROM drive:
- Return to the Computer Management window and click on Device Manager
- Right Click on the RedHat VirtIO Ethernet Adapter listed under Network adapters. Then click on Update Driver Software.

- Click on Browse my computer for driver software:

- Choose the CDROM drive. This is usually the E D drive, or whichever letter the virtual CDROM was created as.


- Click OK and then Next. Windows should find the updated driver
- Click "Yes" when prompted to install the driver.
...