...
To create a network, click on the Network panel in the Rapid Access Cloud dashboard:
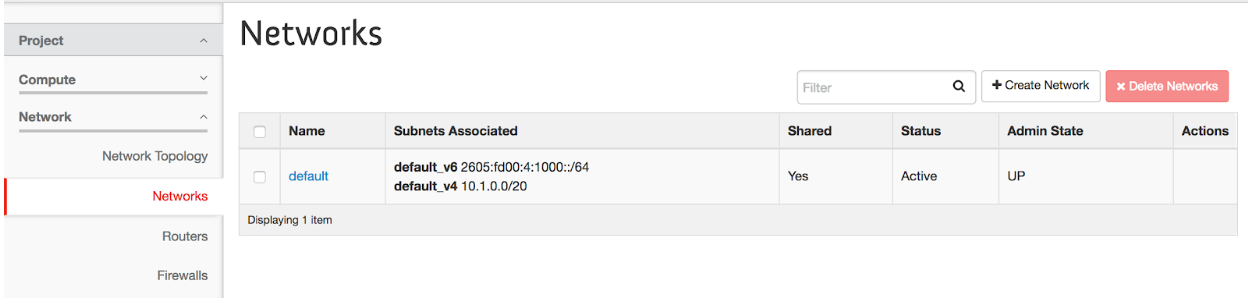

Next, click on Create Network and follow the wizard.
...
Once your networks have been created, you can now launch instances on those networks. Choose which networks your instance will be attached to by going to the Networks tab in the Launch Wizard and select both the default and mynetwork options.


| Note |
|---|
Once you have created one or more networks, you will always have to specify which networks to launch your instances on. If you have not created any self-service networks, your instance will launch on the "default" network by default. When creating instances with more than one network, it is recommended to always have "default" listed at the top. |
...
In addition to creating self-service networks, you can also create your own routers to connect these networks. To create a router, click on the Network panel in the Rapid Access Cloud dashboard and click on Routers.
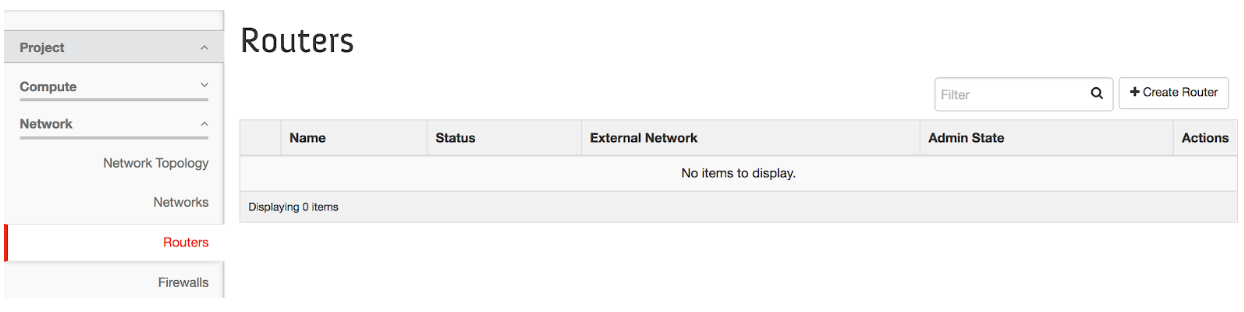

Next, click on Create Router and follow the wizard.
...
Once the above steps are done, you can return to the dashboard and see the networks, subnets, and router in the Network Topology:


| Note |
|---|
At this time it is not possible to attach a router to the "default" network. Unfortunately there is not an easy way of bridging self-service networks to the public Internet. This is currently in development and we will send a notification when this feature is available. |
...